Building and deploying your own cloud virtual machine has never been easier. The scalable and highly available HostDime Cloud allows users to create powerful VM’s with a few clicks of the mouse. Simply choose your Operating System, resources, hostname, and password and we’ll take care of the rest.
As the video below will show, you can actually get your cloud server up in running in 30 seconds. After watching the video, we’ll go into the steps in more detail.
Create Your Own Cloud VM in 5 Easy Steps
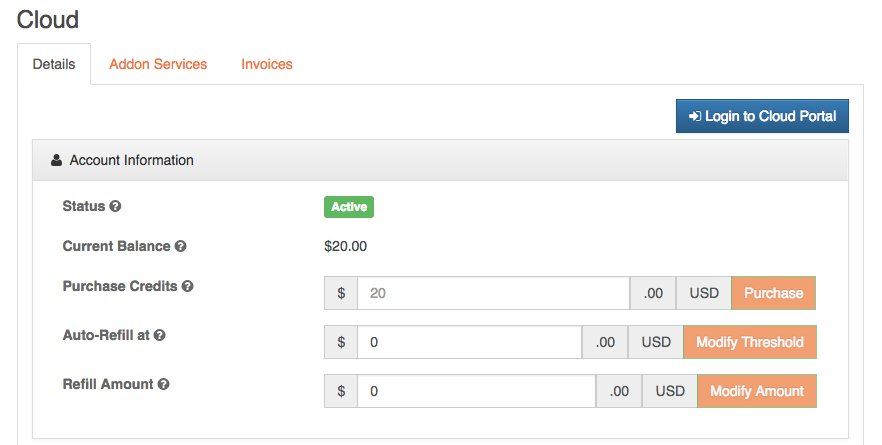
1. PURCHASE CLOUD CREDITS: The HostDime Cloud functions on a prepaid credit system.
- Go to core.hostdime.com/cloud/ and purchase cloud credits. Enter an initial deposit of at least $20.
- For a limited time only, HostDime will match your initial credit deposit! There is no maximum to the amount we’ll match! To get this offer, open a ticket inquiring about the match and we’ll credit your account.
- Used cloud resources subtract from your balance and will need to be refilled to remain active. Resources are billed hourly and subtract from your current balance. You can adjust your auto-refill and refill amounts here as well.
2. CREATE YOUR CLOUD VM: Once you have credits, you can then enter our portal to begin deployment!
- Log in to CORE, go to Products > Cloud, and click Login to Cloud Portal.
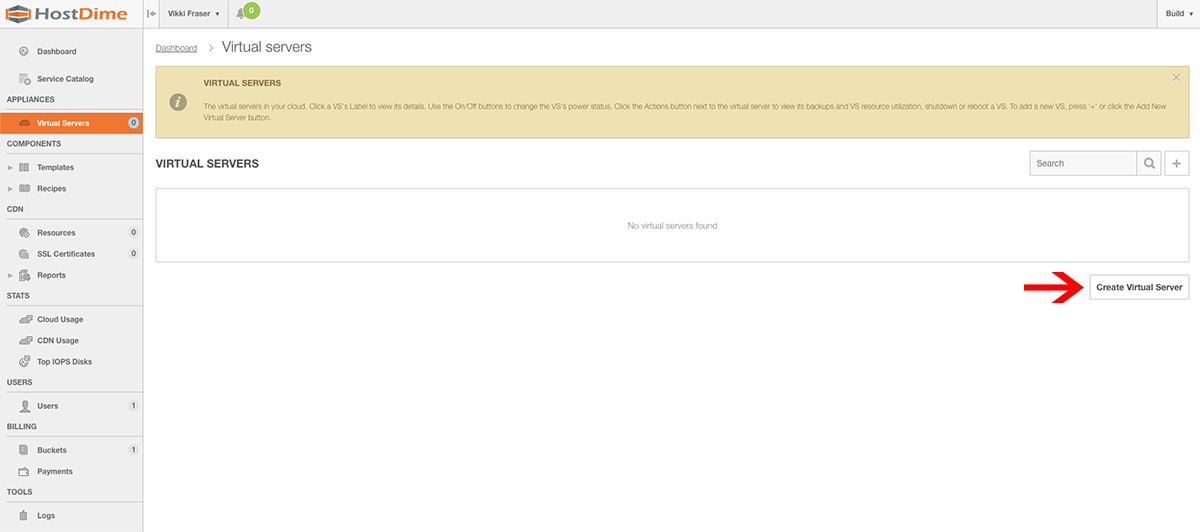
- Once inside the cloud portal, navigate to Virtual Machines and click Create Virtual Server.
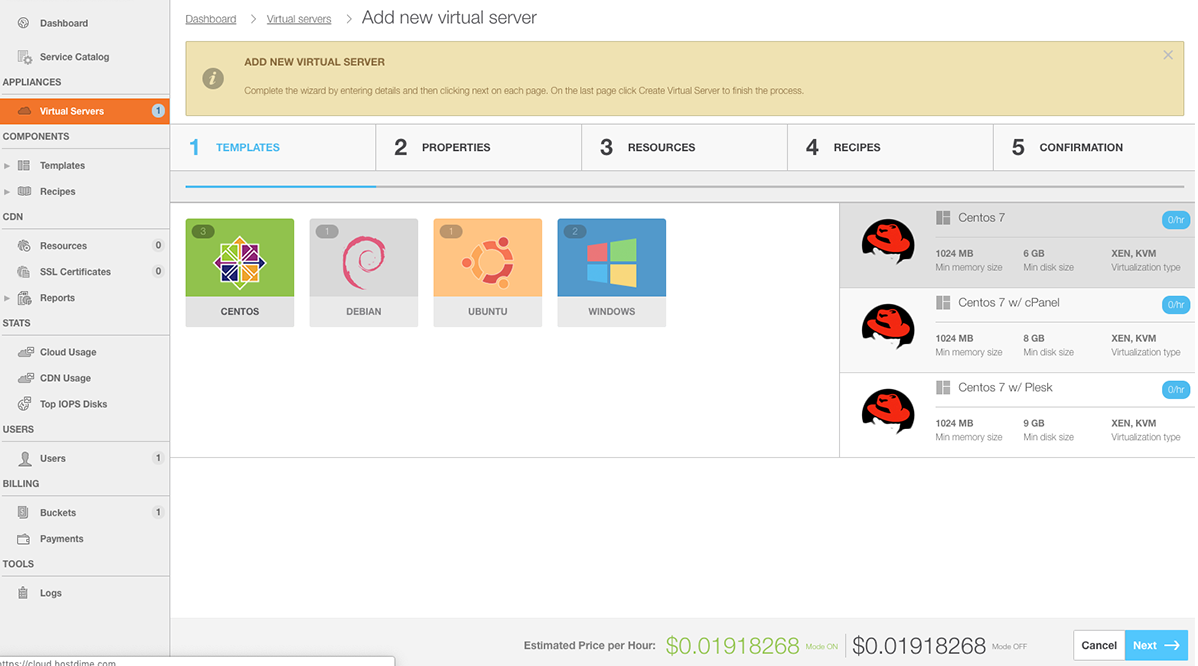
3. CHOOSE YOUR TEMPLATE: Now you will select your template, which incorporates your Operating System and Control Panel. Click an Operating System on the left, and an option for that system on the right. Then, click Next.
4. ASSIGN YOUR CLOUD VM PROPERTIES: Now assign a label (this is for your reference), Hostname, and Domain for your server. Then, choose a password, or leave blank and a password will be auto-generated. Click Next.

5. CHOOSE YOUR CLOUD VM RESOURCES: Next, you will choose the configuration for your machine, Be sure to set your Port Speed at 1000 Mbps. As you can see in the picture below, the default is 1 Mbps and will not work with that setting. Click Next, which will begin you to the RECIPES page. A recipe is instructions that can be applied automatically to virtual machines (this is often left blank). Click Next again.

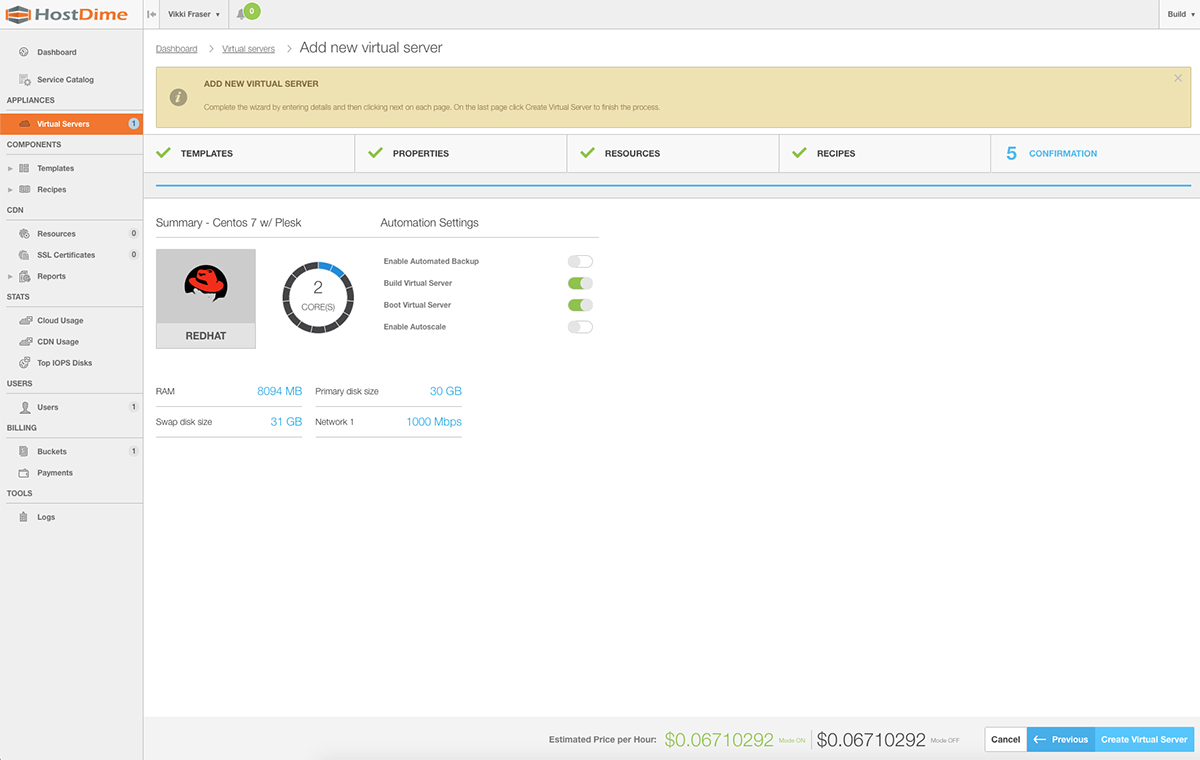
THAT’S IT! Preview your cloud VM, and if everything looks good, click Create Virtual Server. Your server is now deployed. Take a look at the activity log, and once all the processes are complete, you can begin using your server immediately! Your possibilities are now endless; use your VM for software development, tests, or deployment of mission-critical applications.
Fly to the HostDime Cloud for $34 a Month!
We have plenty of tools at your disposal to help you dive into your Cloud VM, with over 20 cloud-centric tutorials over at our Knowledge Base, as well as a consistently updated playlist of videos to guide you through
[divider]
Jared Smith is HostDime’s SEO & Content Strategist.
